One of the most common problems I notice with Android phones is fast battery drain. Many people think that the battery itself is the only reason a phone loses power quickly, but the screen can actually be one of the biggest sources of battery usage. If I use my phone for several hours every day, especially for videos, social media, browsing, or gaming, the display can consume a significant amount of battery.
The good thing is that I do not always need to replace my battery or buy a new phone to improve battery life. By changing a few screen settings and adjusting how I use my Android phone, I can often make the battery last noticeably longer.
In this guide, I will explain how to reduce screen battery usage on Android using simple methods that beginners can follow. Some settings may have slightly different names depending on the Android version and phone manufacturer, but the general steps are similar.
Why Does the Android Screen Use So Much Battery?
The display needs electricity to produce brightness, colors, animations, and images. The more I use my screen, the more energy my phone generally needs.
Screen battery usage can increase when I keep the brightness very high, use the phone for long periods, keep the screen on when I am not actively using it, or use features such as high refresh rates.
Modern Android phones can have bright displays with smooth refresh rates, which provide a great viewing experience. However, these features can also contribute to higher battery consumption.
That is why I believe the screen is one of the first areas I should check when my Android battery seems to be draining faster than expected.
1. Lower Your Screen Brightness
One of the easiest ways to reduce screen battery usage on Android is to lower the screen brightness.
I personally recommend using automatic brightness when it works well on your phone. It allows the phone to adjust brightness according to the surrounding light.
If automatic brightness makes the screen brighter than necessary, I can manually reduce it. There is usually no reason to keep the display at maximum brightness indoors.
To adjust brightness, I can swipe down from the top of the screen and move the brightness slider to a comfortable level.
I do not recommend making the screen so dark that reading becomes difficult. The goal is to find a comfortable brightness level that does not waste unnecessary battery.
2. Reduce the Screen Timeout
Another simple setting that can make a difference is screen timeout.
Screen timeout determines how long the display stays on after I stop using the phone. If my phone is set to remain active for several minutes, the screen may continue consuming battery even when I have already stopped looking at it.
I usually prefer a shorter timeout, such as 30 seconds or one minute.
The exact setting can normally be found under Settings > Display > Screen timeout or a similar option.
A shorter timeout is especially useful if I often put my phone down without manually locking the screen.
3. Use Dark Mode
Dark Mode is another useful option on many Android phones.
I can usually enable it from Settings > Display or through the quick settings panel.
Dark Mode changes supported applications and system menus to darker colors. On phones with OLED or AMOLED displays, displaying black pixels can require less power than displaying bright pixels.
The battery benefit will depend on the phone, screen technology, apps, brightness level, and how I use the device. Still, I find Dark Mode useful because it can also make the screen more comfortable in low light.
If I already prefer a darker interface, turning on Dark Mode is an easy battery saving adjustment.
4. Reduce the Screen Refresh Rate
Some modern Android phones offer refresh rates such as 90Hz, 120Hz, or higher. A higher refresh rate can make scrolling and animations look smoother.
However, using a high refresh rate can sometimes consume more battery.
If battery life is more important to me than maximum smoothness, I can check whether my phone provides a standard or adaptive refresh rate option.
This setting is usually located under Settings > Display, although the name and location can vary.
If my phone supports an adaptive refresh rate, it may automatically change the refresh rate depending on what I am doing. This can provide a balance between smooth performance and battery efficiency.
5. Turn Off Always On Display When You Do Not Need It
Always On Display can show information such as the time, notifications, or battery status while the phone is locked.
It is convenient, but it can contribute to battery usage.
If I am trying to get the maximum battery life possible, I can disable Always On Display or choose a setting that only activates it when I tap the screen or receive a notification.
The option is normally found under display or lock screen settings.
I do not necessarily recommend disabling useful features permanently. Instead, I think it is better to understand which features I actually use and remove the ones that provide little value.
6. Reduce Screen Animation Effects
Android phones use animations when opening applications, switching screens, and performing different actions.
These animations can make the phone feel smoother, but reducing unnecessary visual effects can help create a simpler experience.
Some Android devices offer animation settings through accessibility options or developer settings. However, I would not recommend changing advanced developer settings unless I understand what each option does.
For most beginners, adjusting brightness, screen timeout, refresh rate, and Dark Mode is much easier and safer.
7. Check Which Apps Keep the Screen Active
Sometimes the problem is not only the display itself. An application may keep the screen active for longer than necessary.
For example, video applications, games, navigation apps, social media applications, and reading apps can keep me looking at the display for extended periods.
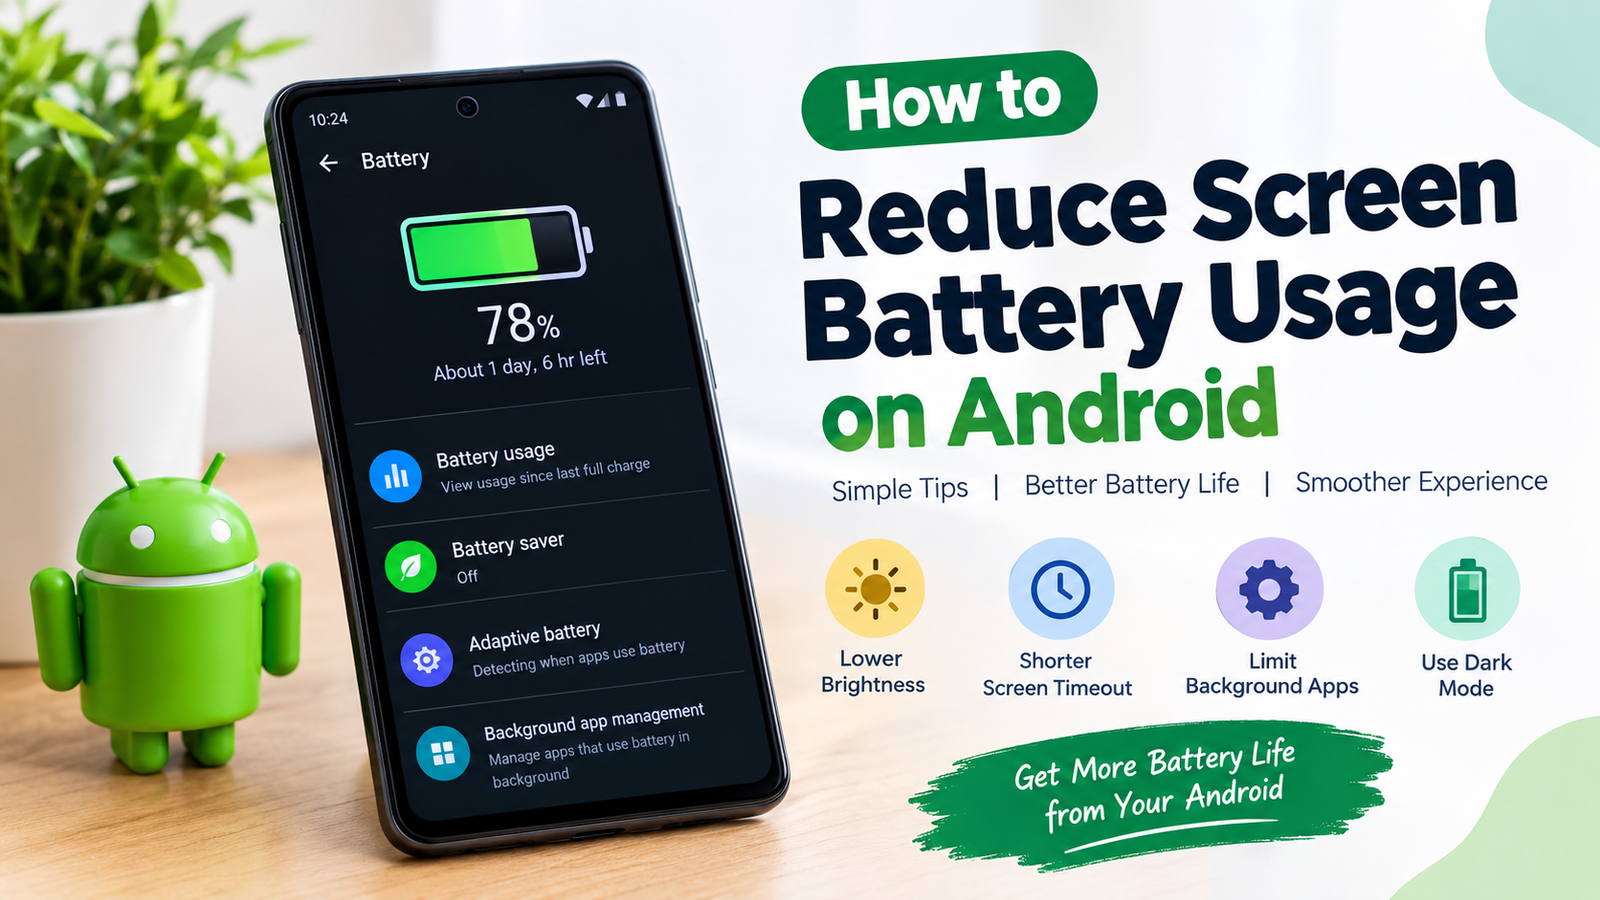
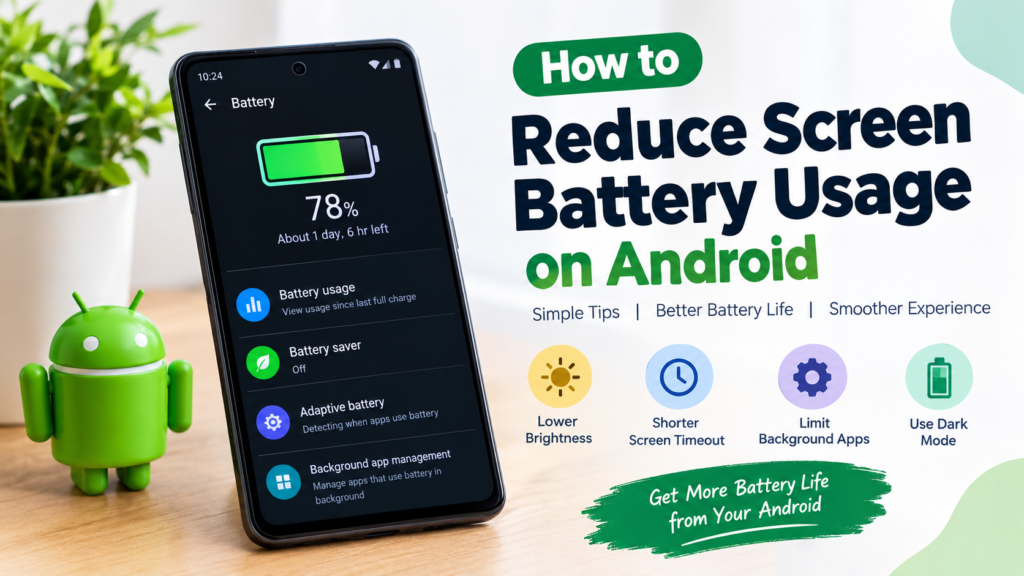
I can open Settings > Battery > Battery usage to see which apps are consuming the most power.
The exact menu can vary between Android phones.
If one application appears to be using an unusually large amount of battery, I can check whether I really need to use it so frequently. I can also update the application or review its battery permissions.
8. Use Battery Saver When Necessary
Android includes a Battery Saver feature on many devices.
Battery Saver can reduce background activity and limit certain features to help extend battery life.
I find this particularly useful when I know I will be away from a charger for several hours.
For example, if my battery is getting low while I am traveling, I can enable Battery Saver instead of waiting until the phone reaches a critically low level.
Battery Saver settings can usually be found under Settings > Battery.
Some phones also allow Battery Saver to turn on automatically at a selected battery percentage.
9. Avoid Keeping the Screen On Unnecessarily
My own phone habits can have a bigger effect on battery life than any single setting.
If I am finished reading something, I should lock the phone instead of leaving the screen active on a desk.
The same applies when I am listening to something that does not require the display. If an application allows audio to continue while the screen is off, turning off the display can save power.
Small habits may seem unimportant, but repeating them throughout the day can reduce unnecessary screen usage.
10. Use a Lower Brightness Level at Night
At night, I usually do not need the same brightness level that I might need outdoors.
Keeping the screen extremely bright in a dark room is unnecessary and can also be uncomfortable for my eyes.
I can lower the brightness manually and use Dark Mode or a built in night display feature if available.
Some Android phones also provide settings that adjust display colors during evening hours.
These features are mainly designed for viewing comfort, but reducing screen brightness can also help lower battery consumption.
11. Avoid Using Maximum Brightness Outdoors for Too Long
Outdoor sunlight can make phone screens difficult to see. As a result, I may increase brightness significantly.
This is understandable when I need to read something outside, but keeping maximum brightness enabled after returning indoors wastes battery.
After moving to a darker environment, I should allow automatic brightness to adjust or manually reduce the brightness again.
This is one of those simple habits that can make Android battery management easier.
12. Keep Your Android Software Updated
Software updates can sometimes include improvements related to battery management, performance, and power efficiency.
For this reason, I prefer keeping my Android operating system and important applications reasonably up to date.
However, I also avoid installing unnecessary applications simply because they are available. Every additional application can potentially use background resources.
A clean and well maintained phone is usually easier to manage.
13. Do Not Obsess Over Every Percentage
One thing I have learned about battery saving is that it should not make using the phone frustrating.
There is no need to keep checking the battery percentage every few minutes.
Instead, I focus on the biggest sources of unnecessary usage. Lowering excessive brightness, reducing screen timeout, using an appropriate refresh rate, and limiting unnecessary screen time are usually more practical than constantly changing dozens of settings.
The best setup is the one that gives me good battery life while keeping the phone comfortable to use.
How to Find Your Biggest Battery Drain
If I want to understand exactly what is happening on my phone, I start with the battery settings.
I open Settings > Battery and look for battery usage information. Android may show applications and system features that have consumed battery since the previous full charge.
If the screen appears near the top of the list, I know my display usage may be an important factor.
I can then review my brightness, screen timeout, refresh rate, Always On Display settings, and daily screen time.
This approach is much better than changing random settings without knowing what is actually causing the problem.
Final Thoughts
Learning how to reduce screen battery usage on Android does not have to be complicated. In my experience, the biggest improvements usually come from simple changes rather than complicated tricks.
I can start by lowering screen brightness, reducing screen timeout, using Dark Mode, choosing an appropriate refresh rate, and disabling Always On Display if I do not need it. I can also check battery usage regularly to understand which applications and features are consuming the most power.
Most importantly, I do not need to sacrifice the entire Android experience just to save battery. I simply need to find a balance between comfortable screen settings and reasonable power consumption.
If my Android battery still drains extremely quickly after making these changes, I would also consider checking the battery’s condition, recently installed applications, software problems, and charging habits. Screen settings are helpful, but battery drain can have several different causes.
With a few practical adjustments and better daily habits, I can make my Android phone last longer between charges while continuing to use the features I actually need.