Taking a screenshot on an Android phone is one of those simple things that can become incredibly useful in everyday life. I personally use screenshots for many different reasons. Sometimes I want to save an important message, sometimes I want to remember something I saw online, and other times I simply want to share something interesting with someone else.
The good thing is that almost every modern Android phone supports screenshots. The exact method can be slightly different depending on the phone brand, Android version, or custom software. However, the basic process is usually very easy.
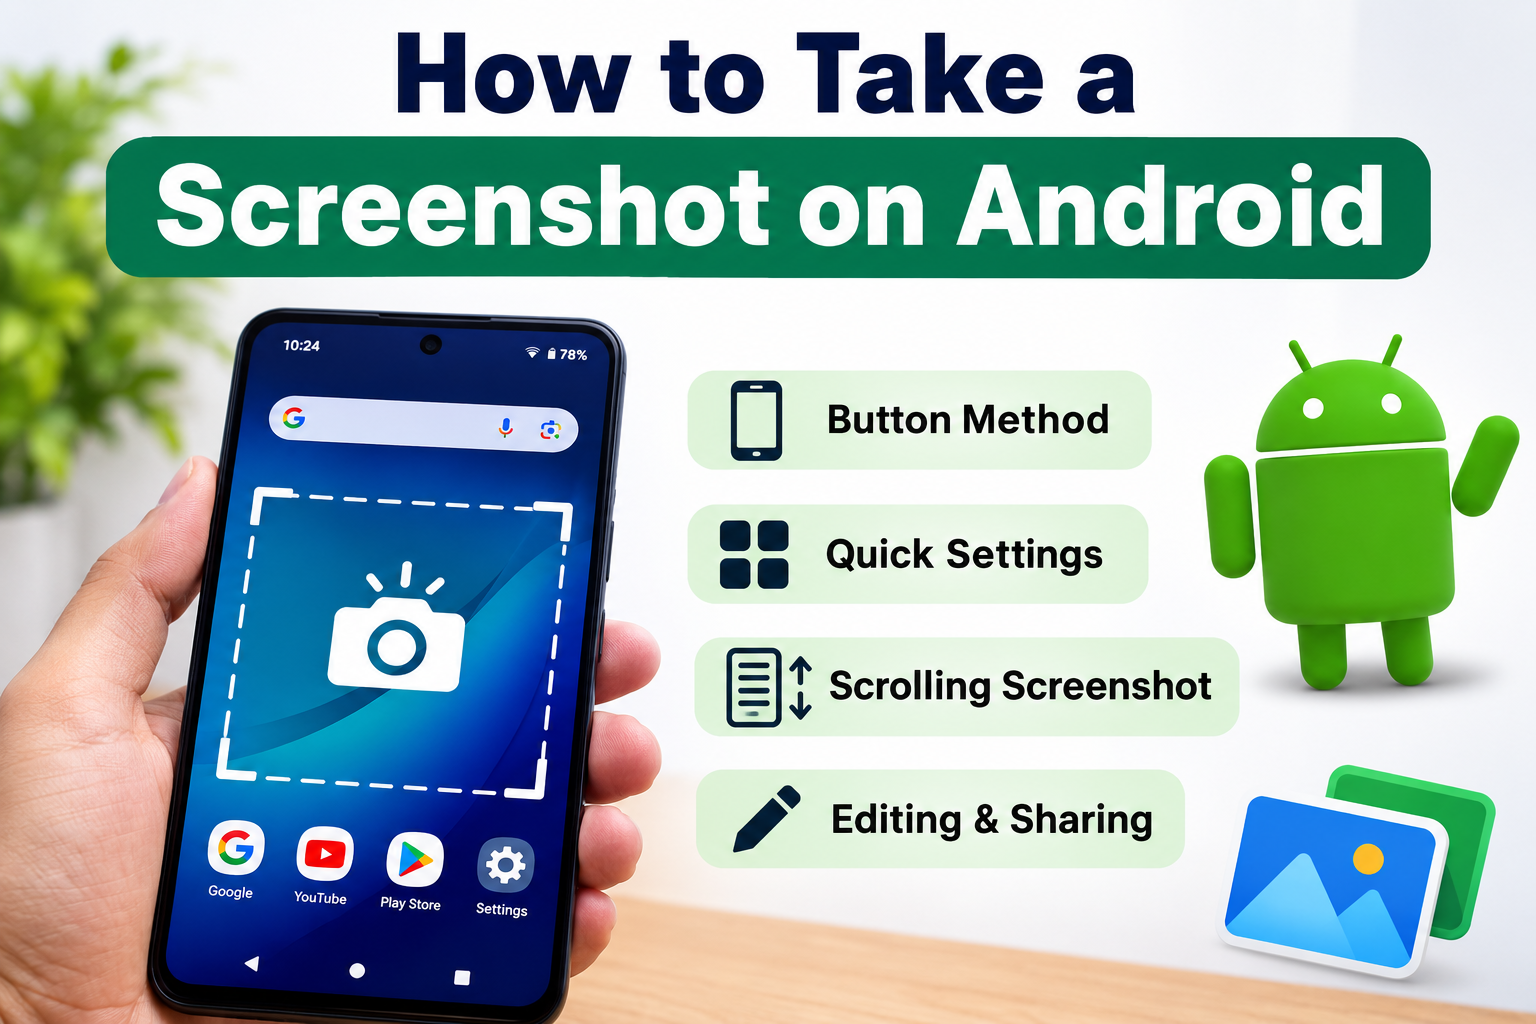
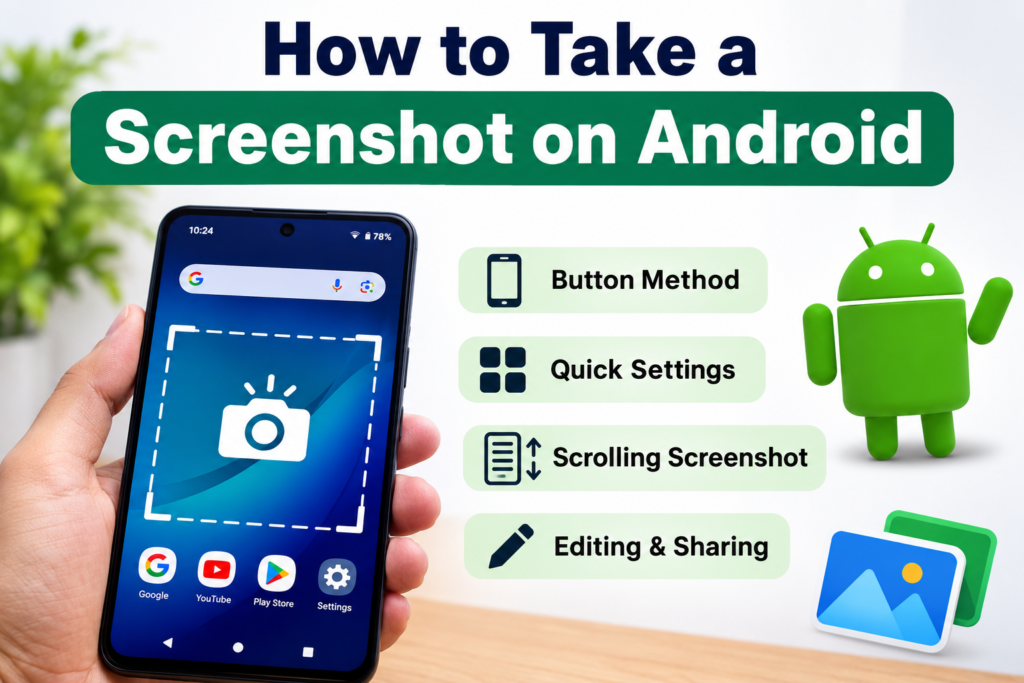
In this article, I will explain how to take a screenshot on Android, different methods you can use, how to take scrolling screenshots, where screenshots are saved, and what you can do with them after taking them.
What Is a Screenshot?
A screenshot is simply an image of whatever is currently displayed on your phone screen. Think of it as taking a digital photograph of your screen.
For example, if you are reading an important message and want to save it, you can take a screenshot. If you see a useful piece of information on a website, you can capture it instead of writing it down.
Screenshots are also helpful when troubleshooting problems. If an error appears on your phone, you can take a screenshot and send it to a friend, family member, or technical support team.
How to Take a Screenshot Using the Power and Volume Buttons
The easiest and most common method on Android is using the physical buttons on the side of your phone.
First, open the screen that you want to capture. It could be a website, message, photo, app, or anything else.
Next, press the Power button and Volume Down button at the same time. You usually need to press them together for about one second.
When the screenshot is taken, you may see a small animation on the screen. You might also hear a camera shutter sound if your phone’s sound is turned on.
After taking the screenshot, a small preview may appear near the bottom or side of the screen. From there, you can edit, share, delete, or save the screenshot.
I find this method the most convenient because it works on many Android phones without requiring any additional settings or applications.
How to Take a Screenshot Using Quick Settings
Some Android phones also allow you to take screenshots directly from the Quick Settings panel.
To try this method, swipe down from the top of your screen. Depending on your phone, you may need to swipe down twice to see all available Quick Settings options.
Look for an option called Screenshot or Take Screenshot.
Tap it, and your phone should immediately capture the current screen.
If you do not see the Screenshot option, you may be able to add it to your Quick Settings panel. Look for the edit button, which is often represented by a pencil icon. Then find the Screenshot option and drag it into your active Quick Settings area.
This method is useful if your physical buttons are difficult to press or if you simply prefer using on screen controls.
How to Take a Screenshot on Samsung Phones
Samsung Galaxy phones offer several ways to capture screenshots.
The standard method is to press the Power button and Volume Down button at the same time. Hold them briefly and release them together.
Samsung also provides additional screenshot features through its software. On supported models, you may be able to use a palm swipe gesture.
To use this feature, go to Settings and search for Palm swipe to capture. If your phone supports it, enable the feature. You can then swipe the edge of your hand across the screen to capture an image.
I recommend using the button method first because it is simple and usually works without changing anything.
How to Take a Screenshot on Google Pixel Phones
Google Pixel phones generally use the same basic button combination.
Open the content you want to capture and press the Power and Volume Down buttons together.
Another option on some Pixel phones is to open the recent apps screen and choose the Screenshot option. This can be convenient when you are already switching between applications.
The exact options can depend on your Android version, so if one method does not appear on your phone, checking the available options in the recent apps screen can help.
How to Take a Scrolling Screenshot
One of my favorite Android screenshot features is the scrolling screenshot. It allows you to capture more than what is currently visible on your screen.
This is especially useful for long web pages, conversations, settings pages, or documents.
First, take a normal screenshot using the Power and Volume Down buttons.
After the screenshot is captured, look at the preview or toolbar that appears on the screen. On supported phones, you may see an option called Capture more, Scroll capture, or something similar.
Tap that option.
Your phone will extend the screenshot and allow you to capture additional content. You can continue until you have included everything you need.
When you are finished, tap the save or done option.
The exact name and appearance of the scrolling screenshot feature can vary between Android phones.
How to Edit a Screenshot
After taking a screenshot, Android usually gives you the option to edit it.
You can crop the image to remove unnecessary parts of the screen. You may also be able to draw on the screenshot, add text, highlight something, or use other editing tools.
For example, if I take a screenshot of a website but only want to show one particular section, I can crop the image before sharing it.
Editing screenshots is also useful when explaining something to another person. You can circle a button or highlight an important part of the screen so the other person immediately knows what you are talking about.
Where Are Android Screenshots Saved?
Most Android phones automatically save screenshots in the phone’s Photos or Gallery application.
On many devices, you can open Google Photos and look for the Screenshots folder. On other phones, screenshots may appear inside a Screenshots album in the Gallery app.
You can also use a file manager application to locate them. The exact folder location can vary between manufacturers and Android versions.
If you cannot find a screenshot, open your Gallery or Photos app and search for Screenshots. This is usually the fastest way to locate them.
How to Share a Screenshot
Sharing a screenshot is just as easy as taking one.
After capturing the screen, tap the Share option from the screenshot preview if it appears. You can then choose an application such as WhatsApp, Messenger, email, or another supported app.
You can also open your Gallery or Photos app later, select the screenshot, and tap Share.
I often find it easier to share a screenshot immediately after taking it because the sharing option is already available on the screen.
What to Do If the Screenshot Does Not Work
Sometimes the usual Power and Volume Down combination may not work correctly.
First, make sure you are pressing both buttons at exactly the same time. If you press one button too early, your phone may simply change the volume or open the power menu.
Try pressing both buttons briefly rather than holding them for several seconds.
If that still does not work, restart your phone and try again.
You can also check whether your phone provides another screenshot option through Quick Settings or the recent apps screen.
Another possibility is that the particular application or screen does not allow screenshots for security reasons. Some banking applications, streaming services, and other protected content may restrict screenshots.
Screenshots and Privacy
Screenshots are convenient, but I believe it is important to use them responsibly.
Before sharing a screenshot, check whether it contains private information. A screenshot might accidentally include your phone number, email address, personal messages, account information, or other sensitive details.
If you need to share a screenshot publicly, I recommend cropping out anything you do not want other people to see.
You can also use the editing tools to hide private information before sharing the image.
Taking a few seconds to check a screenshot before sending it can prevent unnecessary privacy problems.
Can You Take a Screenshot Without Buttons?
Yes, depending on your Android phone.
Some devices provide gesture controls, Quick Settings options, accessibility features, or other software based methods for taking screenshots.
If your phone buttons are damaged or uncomfortable to use, open Settings and search for Screenshot. You may find additional options available for your particular device.
Android features can differ quite a bit between manufacturers, so the option available on one phone may not appear on another.
Final Thoughts
Learning how to take a screenshot on Android is a small skill, but it can make your phone much easier to use. Whether I want to save an important message, remember information from a website, explain something to someone, or keep a useful reference for later, screenshots are one of the simplest tools available on Android.
The Power and Volume Down button combination is usually the quickest method to start with. If your phone supports it, you can also use Quick Settings, gestures, recent apps, or scrolling screenshots.
Once you know how screenshots work, you can also edit, crop, organize, and share them whenever you need.
Android phones may have different interfaces and features, but the basic idea remains the same. Open what you want to capture, use one of the available screenshot methods, and then manage the image from your Gallery or Photos app.
For me, screenshots are one of those everyday phone features that I use without thinking about it anymore. Once you start using them regularly, you will probably find plenty of situations where having a quick image of your screen is much easier than trying to remember or explain what was displayed.