Getting a new Android phone is always exciting for me. The first time I turn on a new device, I want everything to feel right from the beginning. I want my accounts, contacts, photos, apps, settings, and security features to be properly configured without making the process more complicated than it needs to be.
If you have recently purchased an Android phone and are wondering what to do after taking it out of the box, this guide will walk you through the complete setup process. The exact screens can look slightly different depending on the phone brand and Android version, but the basic process is usually very similar.
1. Charge Your Phone Before Starting
Before I begin setting up a new Android phone, I usually make sure that it has enough battery. Some new phones come with a reasonable amount of charge, while others may have less.
I recommend charging the phone for a while if the battery is low. You do not want the phone to shut down in the middle of transferring your data or installing important updates.
You should also use the charger and cable that came with your phone whenever possible, especially during the first setup.
2. Turn On Your New Android Phone
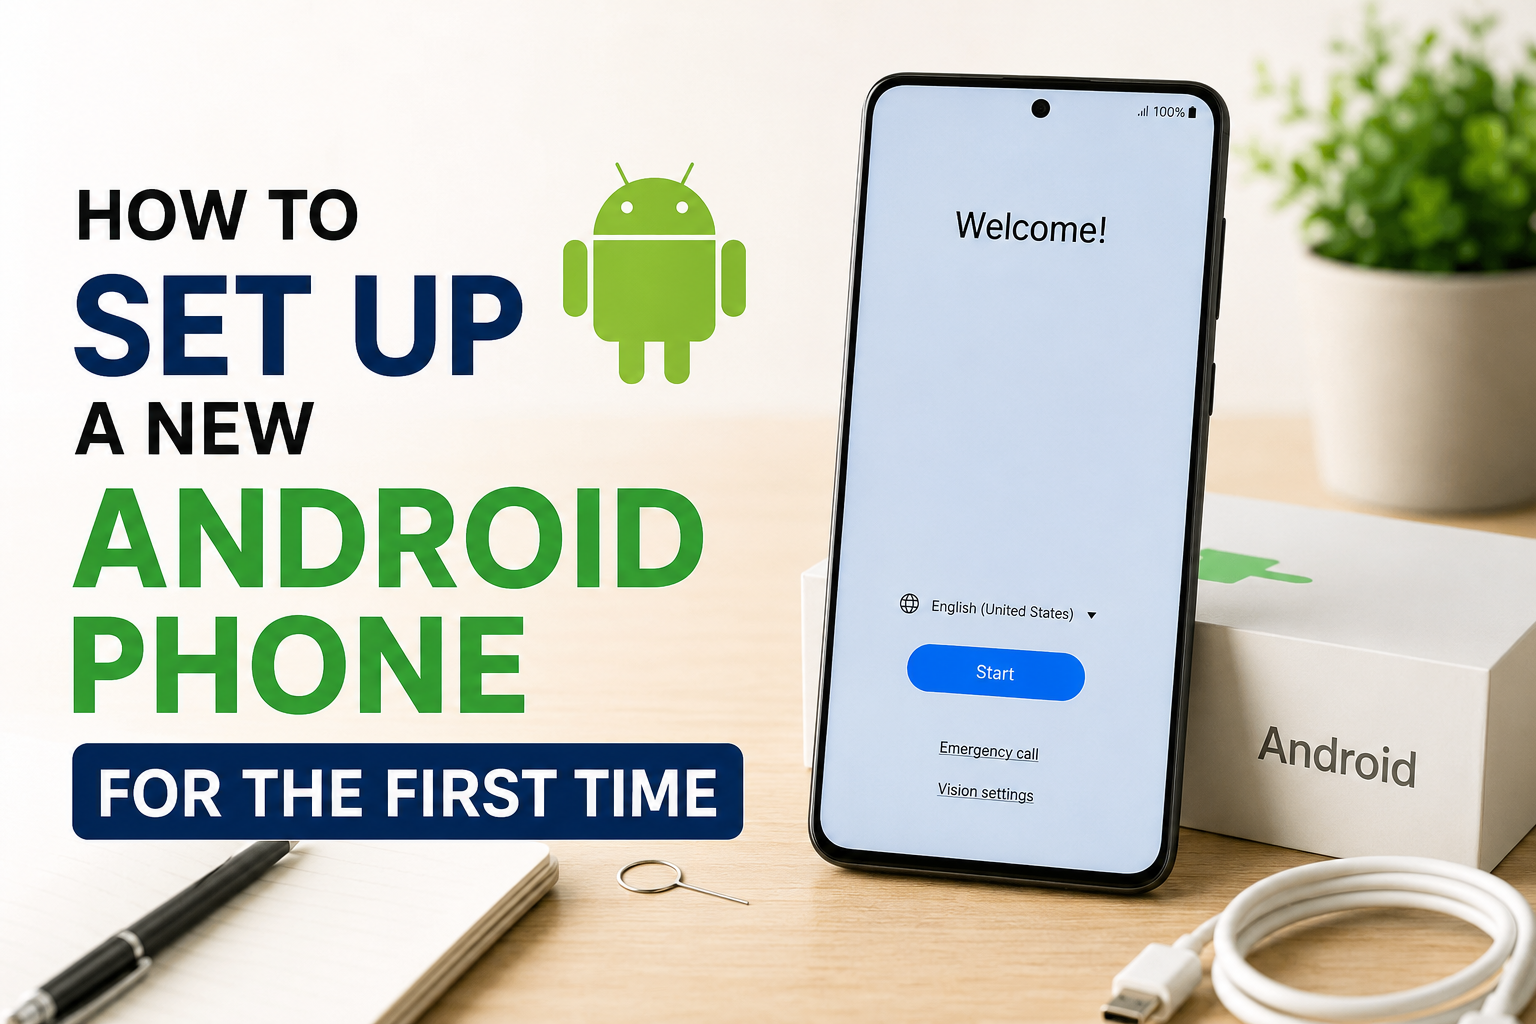
Once the phone has enough battery, press and hold the power button until the Android logo or manufacturer logo appears.
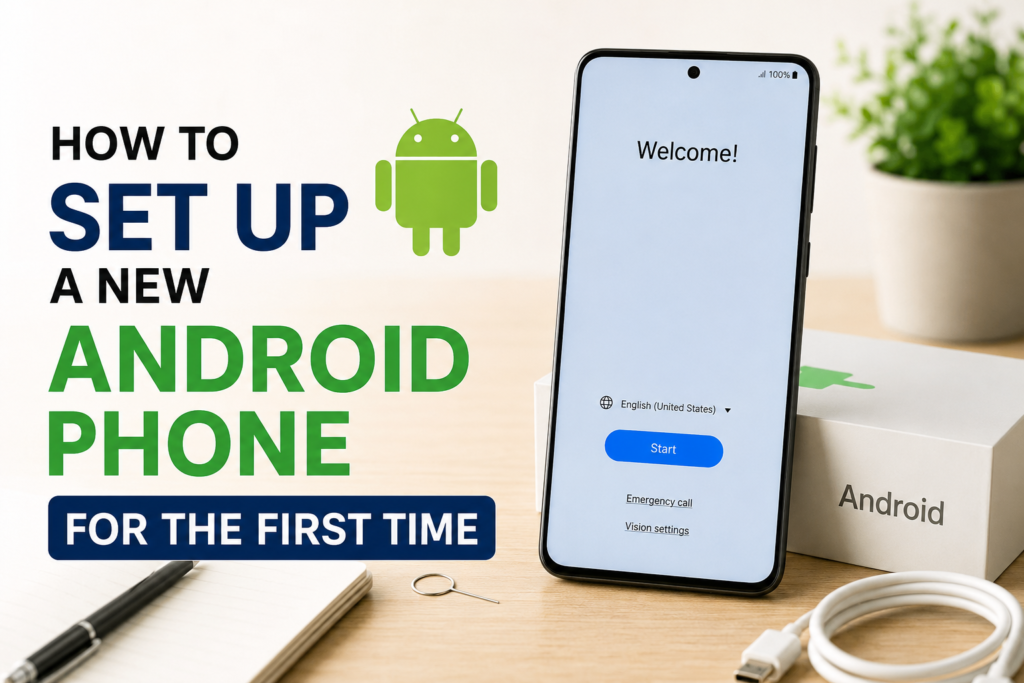
After a few moments, the phone will show the welcome screen. You will normally be asked to select your preferred language and region.
I recommend choosing the language you are most comfortable using every day. You can usually change some language and region settings later, but selecting the correct options now makes the rest of the setup easier.
3. Connect to WiFi
One of the most important steps is connecting the phone to a WiFi network.
Select your WiFi network from the list and enter the password. I personally prefer using a reliable WiFi connection during the initial setup because the phone may need to download updates, restore applications, and synchronize account information.
If you are using mobile data, remember that the setup process can consume a significant amount of data, especially when restoring many applications and files.
4. Sign In With Your Google Account
Android works closely with Google services, so signing in with a Google account is an important part of the setup.
Enter your Google email address and password when prompted. If you do not already have a Google account, you can create one during the setup process.
Your Google account can help synchronize contacts, calendars, application information, passwords, and other supported data. It also gives you access to services such as the Google Play Store.
I recommend using an account that you plan to keep for a long time rather than creating a temporary account just for the new phone.
5. Transfer Data From Your Old Phone
If you are replacing an old Android phone, the setup process will often give you an option to copy your data from the previous device.
Depending on your phone and software version, you may be able to transfer contacts, photos, videos, applications, messages, and certain settings.
Keep both phones nearby during this process. Make sure the old phone has enough battery and is connected to WiFi if required.
I always recommend checking the data you want to transfer instead of blindly copying everything. Old applications that you no longer use can make a new phone feel cluttered.
If you are moving from an iPhone, your new Android phone may provide specific instructions for transferring compatible information.
6. Set Up Screen Lock and Security
After transferring your information, I recommend setting up your phone’s security immediately.
Android phones usually provide options such as a PIN, password, pattern, fingerprint, or face unlock, depending on the device.
For everyday use, I find a strong PIN combined with fingerprint unlock to be a convenient option.
Avoid using extremely obvious PINs such as your birth year or simple repeated numbers. Your phone contains personal information, so protecting it should be one of your first priorities.
If fingerprint or face unlock is available, register it carefully and follow the instructions shown on the screen.
7. Install System Updates
After completing the basic setup, check for software updates.
Open the phone’s Settings and look for the system update section. The exact name and location can differ between manufacturers.
A new phone may still have updates waiting to be installed even if it was recently purchased. These updates can include security improvements, bug fixes, performance improvements, and new features.
I prefer installing available updates before spending too much time customizing the phone. It gives me a better starting point and can prevent problems later.
8. Update Your Applications
Next, open the Google Play Store and check for application updates.
If you transferred applications from your old phone, some of them may need to be updated.
You do not necessarily need to install every application you used on your old phone. This is actually a good opportunity to clean things up.
I usually install the applications I genuinely use first and leave unnecessary applications behind. A cleaner phone is easier to manage and can also reduce background activity.
9. Set Up Google Backup
Backup is something I recommend taking seriously when setting up a new Android phone.
Look through the backup settings and make sure your important information is being backed up to your Google account or another trusted service.
Depending on your device and settings, backups may include applications, certain device settings, contacts, and other supported information.
Photos and videos should also be checked separately because photo backup settings can vary depending on the service you use.
A backup may not feel important when everything is working normally, but it becomes extremely valuable if your phone is lost, damaged, or replaced.
10. Configure Your Notifications
Once the main setup is finished, I recommend reviewing notifications.
New phones can sometimes feel noisy because many applications are allowed to send notifications by default.
Go through your notification settings and decide which applications actually need permission to interrupt you.
For example, I may want important messages and calls to appear immediately, while I may not need notifications from every shopping application or game.
Controlling notifications early makes the phone much more comfortable to use.
11. Review App Permissions
Another setting I always check is application permissions.
Applications can request access to things such as your camera, microphone, location, contacts, photos, and files.
You do not have to automatically approve every request. Think about whether the permission makes sense for the application.
For example, a navigation application may reasonably need location access, while a simple calculator may not need access to your contacts.
Taking a few minutes to review permissions can give you better control over your personal information.
12. Customize the Home Screen
Now comes the fun part.
I like arranging the home screen according to the way I actually use my phone. Place frequently used applications where you can reach them quickly and move less important applications into folders.
You can also customize the wallpaper, widgets, icons, display settings, and other visual options depending on your Android phone.
Try not to fill every space with applications and widgets. A simple home screen often feels faster and easier to navigate.
13. Set Up Your Essential Apps
After the basic setup, install the applications you use regularly.
These might include messaging applications, banking applications, social media applications, productivity tools, navigation applications, entertainment services, and other apps you trust.
When installing applications, I recommend downloading them from the official Google Play Store whenever possible.
Avoid installing random application files from unknown websites unless you completely understand where they came from and why you need them.
14. Check Your SIM and Mobile Network
If your phone uses a physical SIM card, make sure it is inserted correctly. If your device supports eSIM, follow the carrier’s instructions to activate it.
After activation, make a test call and send a message if possible. Also check your mobile data connection.
This simple test can save you from discovering a network problem later when you actually need to make an important call.
15. Configure Battery Settings
Battery life is another area worth checking on a new Android phone.
Look through the battery settings to understand which applications consume the most power.
You may also find options for adaptive battery, battery saver, charging optimization, or background activity management.
I normally avoid changing too many advanced battery settings immediately. I prefer using the phone normally for a few days and then checking which applications are actually consuming excessive battery.
16. Add Important Accounts
If you use accounts for email, work, school, cloud storage, or other services, you can add them to your phone.
Make sure you only add accounts that you actually need. Every additional account can introduce more synchronization and notifications.
For important accounts, I also recommend enabling two factor authentication where available. This adds another layer of protection beyond your password.
17. Test Everything Before Finishing
Before considering the setup complete, I like to test the important functions.
Make a phone call, test the microphone and speakers, open the camera, connect to WiFi, check mobile data, test Bluetooth, and make sure charging works correctly.
You should also check the display for obvious problems and make sure the physical buttons respond properly.
If you discover a hardware problem during the return or warranty period, it is much better to identify it early.
18. Keep Your Phone Organized
Once everything is working, try to keep your new Android phone organized.
Delete applications you do not use, review unnecessary notifications, organize your home screen, and occasionally check storage usage.
I believe the best Android setup is not necessarily the one with the most features enabled. It is the one that gives you quick access to the things you actually need while keeping unnecessary distractions under control.
Final Thoughts
Setting up a new Android phone for the first time does not have to be difficult. The process becomes much easier when you take it one step at a time.
Start with the basic setup, connect to WiFi, sign in to your Google account, transfer your important data, secure the phone, install updates, configure backups, and then personalize everything according to your needs.
In my opinion, the most important thing is not to rush through the security and backup settings. A few extra minutes spent protecting your information can make a big difference later.
Once the essential settings are complete, take some time to explore your new Android phone. Every manufacturer adds different features, so you may discover useful tools that make your daily experience much better.
A new phone should feel simple and comfortable to use. By setting it up carefully from the beginning, you can avoid unnecessary problems and get the most out of your Android device.