Our smartphones have become an important part of everyday life. We use Android phones for calls, messages, social media, online meetings, videos, games, banking, shopping, and many other activities. Because we use so many apps, it is important to understand what permissions those apps have on our phones.
One permission I believe every Android user should check from time to time is microphone access. Many apps need the microphone for useful features, such as making voice calls, recording audio, sending voice messages, or joining video meetings. However, not every app needs microphone access.
In this guide, I will explain how to check which apps have microphone access on Android and how you can change microphone permissions when necessary. The exact names of settings can be slightly different depending on your Android version and phone manufacturer, but the basic process is usually very similar.
Why Microphone Access Matters on Android
The microphone is one of the most sensitive parts of a smartphone. When you give an app microphone permission, you are allowing that app to use your phone’s microphone when the operating system permits it.
For example, a messaging app may need microphone access when you record a voice message or make a voice call. A video meeting app may need it so other people can hear you during a meeting.
The important thing is to know which apps have this permission. I personally think checking app permissions is a simple habit that can help you maintain better control over your phone privacy.
You do not necessarily need to worry whenever you see an app with microphone permission. The better approach is to understand why the app needs the permission and decide whether you still want to allow it.
How to Check Which Apps Have Microphone Access on Android
The easiest way to check microphone permissions is through Android settings.
Start by opening the Settings app on your Android phone. Once Settings is open, look for an option called Privacy, Security and Privacy, or something similar.
Tap the privacy section and look for Permission Manager or Permission Control. On some Android phones, you may need to tap Privacy Dashboard first.
Next, look for the Microphone permission.
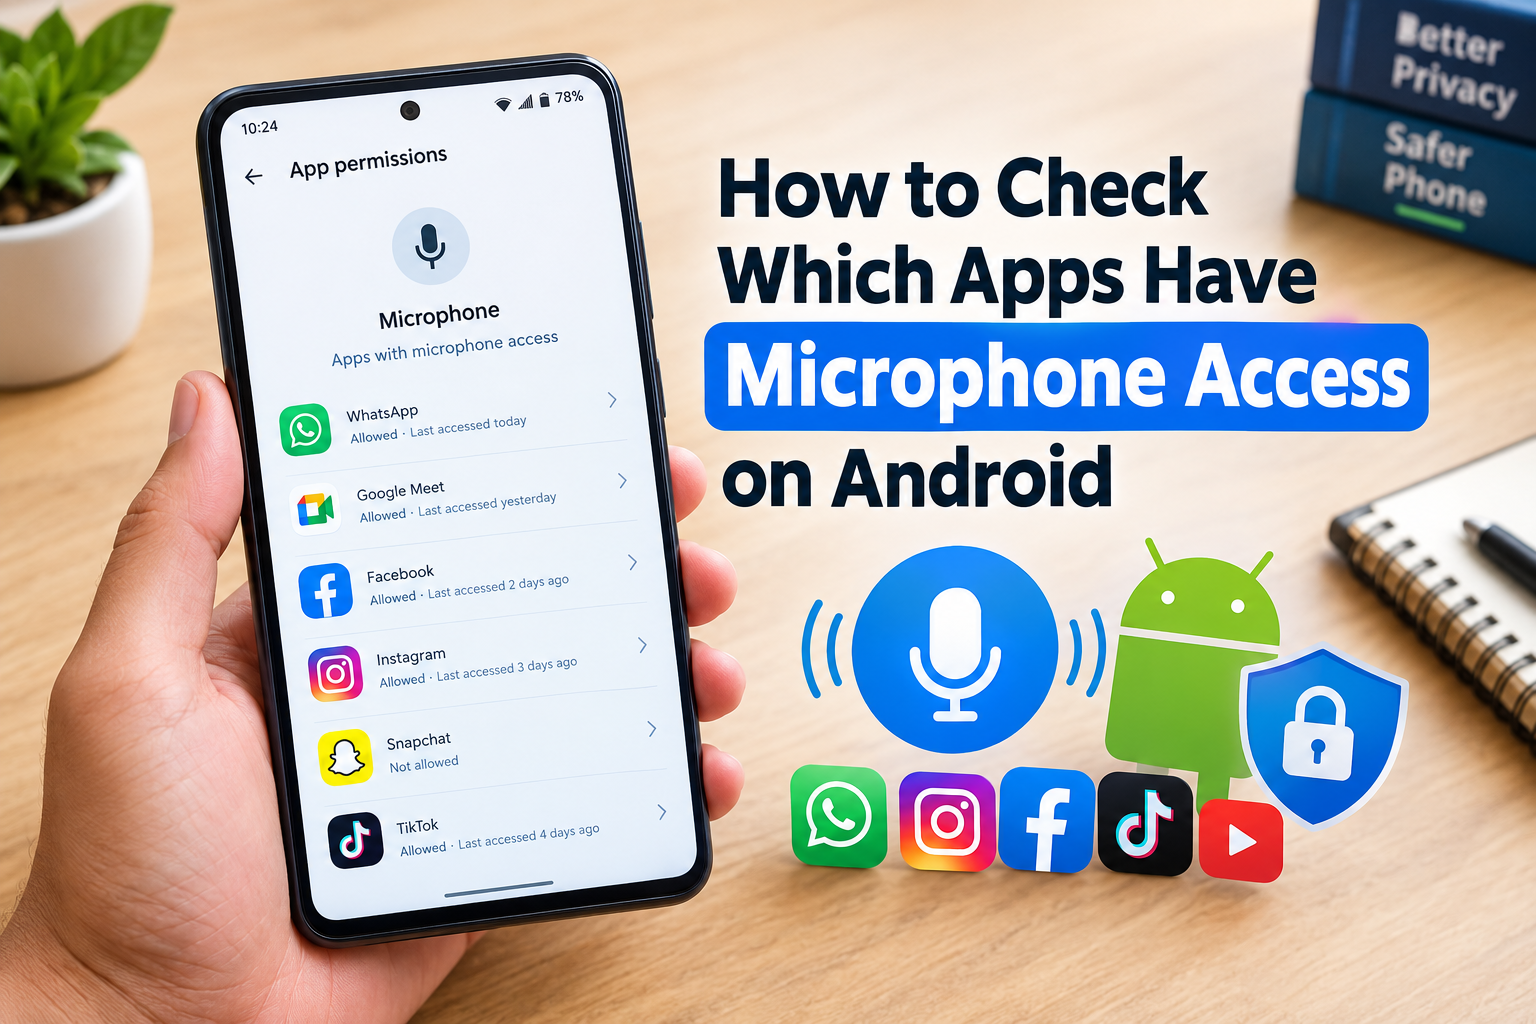
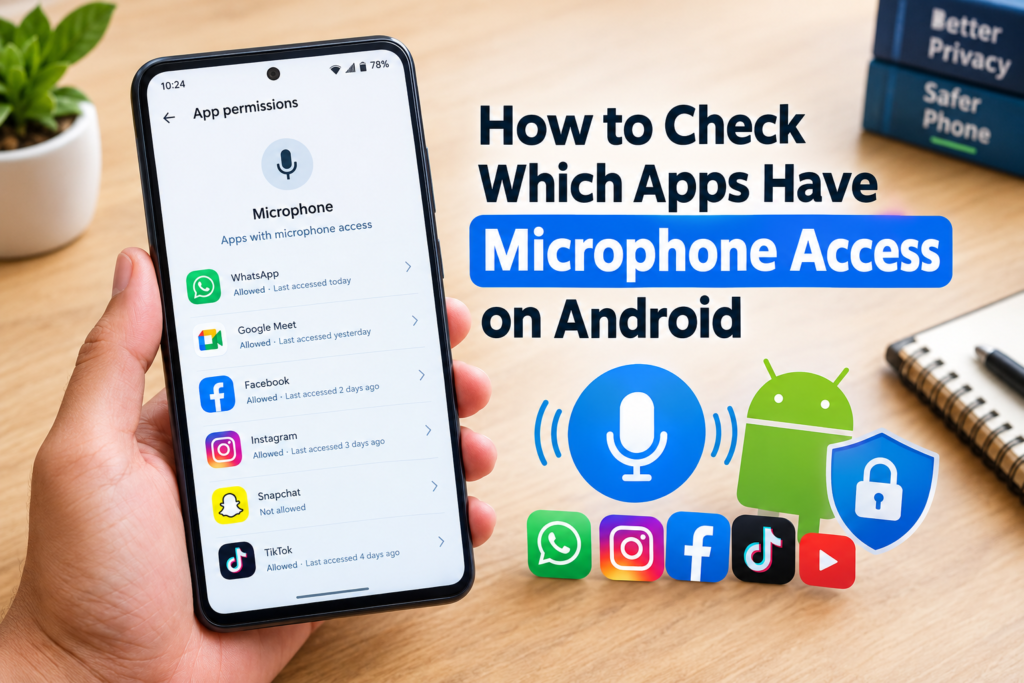
When you open the microphone permission page, Android can show you the apps that have requested or received access to your microphone. Depending on your Android version, you may see categories such as allowed apps, denied apps, or apps that can ask for permission.
This gives you a quick way to review microphone access without checking every app individually.
Using Permission Manager to Review Microphone Access
Permission Manager is one of the most useful Android privacy features because it allows you to review permissions by category.
Instead of opening an app and checking every permission separately, you can select a permission such as microphone and see which apps have access.
To check microphone permissions, follow these general steps:
- Open Settings.
- Tap Privacy or Security and Privacy.
- Open Permission Manager.
- Select Microphone.
- Review the apps listed there.
- Tap an app to see or change its microphone permission.
The wording can be different on Samsung, Google Pixel, Xiaomi, OnePlus, Oppo, Vivo, and other Android phones. If you cannot find Permission Manager, use the Settings search bar and type microphone permission.
I find the Settings search option especially useful because Android manufacturers often organize privacy settings differently.
How to Check Microphone Permission for One App
Sometimes you may only want to check one particular application.
For this, open Settings and go to Apps or App Management. Find the app you want to check and open its information page.
Look for Permissions and tap it. You should see a list of permissions that the app can use.
Find Microphone in the list. You may see options such as allowing microphone access only while using the app, asking every time, or denying access. The available options depend on your Android version and the application.
This method is useful when you have a specific app in mind and want to quickly check what it can access.
What the Different Microphone Permission Options Mean
Android can provide different permission choices depending on the version and app.
If microphone access is Allowed while using the app, the app can normally use the microphone when you are actively using the application and the operating system permits it.
If the permission is set to Ask every time, Android may ask you for permission when the app wants to use the microphone.
If microphone access is Not allowed, the app cannot normally use the microphone through that permission.
I recommend choosing the option that makes sense for the way you actually use the app. For example, a video calling application may reasonably need microphone access when you are making a call. A simple calculator usually has no obvious reason to need microphone access.
How to Turn Off Microphone Access for an App
If you find an app that you do not want to have microphone access, you can usually change its permission.
Open Settings and go to Apps. Select the application and then tap Permissions. Select Microphone and change the permission to Don’t allow or the equivalent option shown on your phone.
You may notice that some features stop working after microphone access is removed. That is normal. If an app requires the microphone for voice recording or calling, those features may no longer function until permission is restored.
You can always return to the same settings and change the permission again if you need the feature.
How to Use Android Privacy Dashboard
Some newer Android devices provide a Privacy Dashboard that makes it easier to understand how apps have used sensitive permissions.
Open Settings and search for Privacy Dashboard. Depending on your Android version, you may see information about permissions such as microphone, camera, and location.
Select the microphone section if it is available. Android may show recent microphone access and the applications associated with that access.
This can be useful because there is a difference between an app having permission and an app actually using the microphone. Permission means the app is allowed to access it under certain conditions. The privacy dashboard can provide additional information about recent access on supported Android versions.
Watch for the Microphone Indicator
Many modern Android phones show a privacy indicator when an application is actively using the microphone or camera.
You may see a small indicator near the top of the screen when the microphone is being used. The exact appearance depends on your Android version and phone manufacturer.
If you notice the microphone indicator unexpectedly, you can check which application is using the microphone by interacting with the privacy controls available on your phone.
This does not mean every unexpected indicator is a security problem. System features and legitimate applications can sometimes use the microphone for specific functions. The important thing is to investigate when something does not make sense.
Which Apps Usually Need Microphone Access?
Several types of apps commonly need microphone permission.
Voice calling applications need it so you can talk to another person. Video calling apps need it so other participants can hear you. Messaging apps may use it for voice messages and calls.
Audio recording applications obviously need microphone access. Some camera applications can also need it when recording videos with sound.
Voice assistant applications may use microphone access for voice commands.
The key point is not that microphone permission is bad. It is about giving access to apps for a genuine reason.
Which Apps May Not Need Microphone Access?
Some applications may have no obvious reason to use your microphone.
For example, a basic calculator, flashlight, wallpaper application, or simple offline utility may not need microphone access for its primary purpose.
If you find an application with microphone permission and you cannot understand why it needs it, check the app’s features and permission explanation. You can also deny the permission and see whether the application still works correctly.
I prefer this approach because it lets me make permission decisions based on actual use rather than simply allowing every request that appears on the screen.
Check Permissions After Installing New Apps
One useful habit is to review permissions whenever you install a new application.
During installation or the first time you use certain features, an app may ask for access to the microphone. Read the request before selecting an option.
You do not always need to give permission immediately. If you are unsure, you can deny it and see whether the application asks again when you use a feature that actually requires microphone access.
This can help reduce unnecessary permissions on your Android phone.
Remove Permissions From Apps You No Longer Use
Another simple privacy habit is reviewing old applications.
Over time, we install many apps and forget about them. Some applications may still have permissions that were granted months ago.
Open your Android privacy settings and review microphone access. If an application is no longer useful, consider uninstalling it. If you still use it but do not need its microphone feature, consider removing microphone permission.
Keeping your installed applications and permissions organized makes it easier to understand what your phone is allowing.
Android Can Automatically Reset Some Permissions
Some Android versions include features that can automatically reset permissions for applications that have not been used for a while.
This feature is helpful because people often forget about old applications. However, the exact behavior depends on the Android version, device, and app.
You should still manually review permissions instead of depending completely on automatic controls.
What Should You Do If an App Keeps Asking for Microphone Access?
If an application repeatedly asks for microphone permission, first think about which feature you are trying to use.
If you are trying to make a voice call, record audio, or use a voice feature, the request may be expected.
If you are simply browsing content and the app repeatedly requests microphone access without an obvious reason, you can deny the permission and review the app’s settings.
You can also check whether the application is updated. Sometimes permission behavior changes after updates, so keeping your apps updated can help maintain compatibility with Android’s privacy system.
Final Thoughts
Learning how to check which apps have microphone access on Android is a simple step that can give you better control over your smartphone privacy.
The easiest approach is to open Settings, find the Privacy or Security and Privacy section, open Permission Manager, and select Microphone. From there, you can review which applications have microphone access and change permissions when necessary.
I recommend checking microphone permissions occasionally, especially after installing several new applications. You should not automatically assume that an app with microphone access is unsafe. Many legitimate applications need the microphone for their main features.
At the same time, there is no reason to give microphone access to an application that does not need it. Reviewing permissions, paying attention to microphone indicators, and removing access when appropriate are simple habits that can help you manage your Android phone more carefully.
Android gives users several tools for controlling sensitive permissions. Once you know where these settings are located, checking microphone access takes only a few minutes and can become a useful part of your regular phone privacy routine.